
Home · Guides / 4.1
Guide 4.1
Setup PHP on NGINX
These steps add PHP 7.1-FPM to the NGINX site from guide 4. On a current Ubuntu LTS, install a supported PHP release and point fastcgi_pass at that version’s socket.
-
Add the PHP repository tooling.
sudo apt-get install software-properties-common sudo add-apt-repository ppa:ondrej/php sudo apt-get update -
Install PHP 7.1.
sudo apt-get install php7.1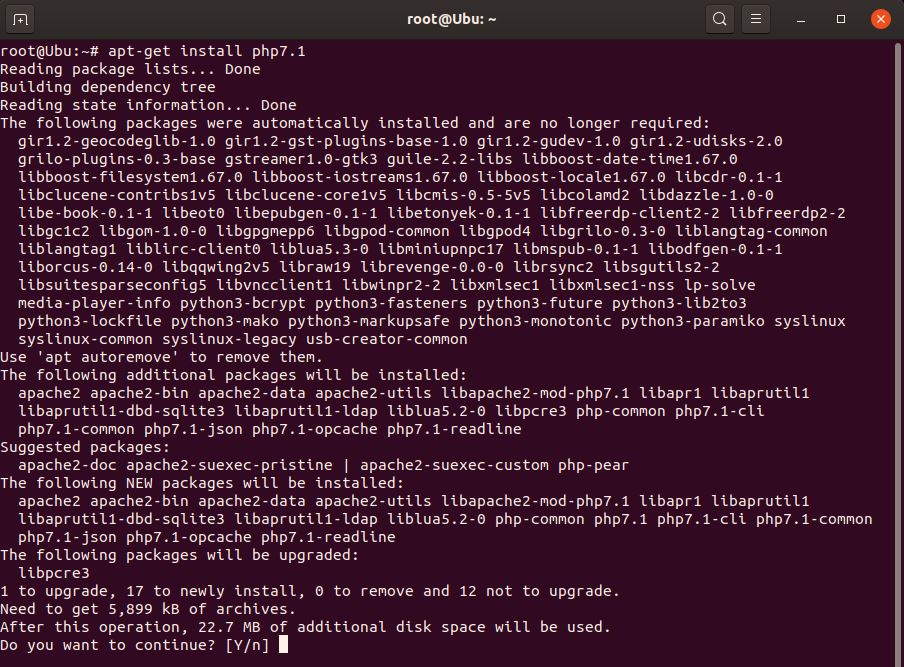
PHP 7.1 as used in the original 2020 notes. -
Install common modules, including FPM for NGINX.
sudo apt-get install php7.1 php7.1-cli php7.1-common php7.1-json php7.1-opcache php7.1-mysql php7.1-mbstring php7.1-mcrypt php7.1-zip php7.1-fpm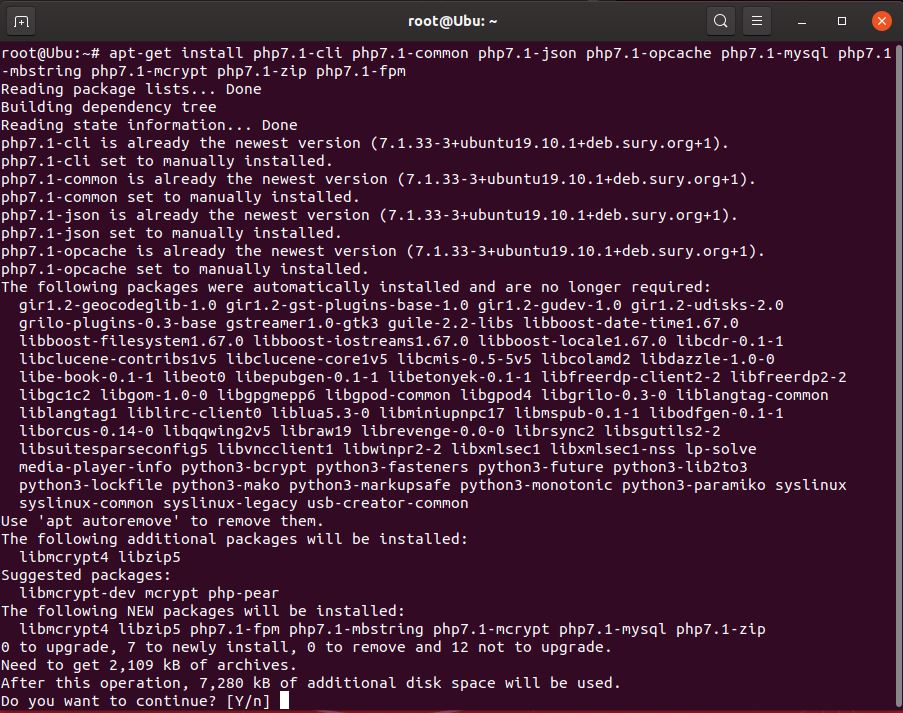
CLI, MySQL, mbstring, zip, and FPM modules. -
Edit the PHP INI used by the CLI (and apply the same change in the FPM INI if you use FPM).
sudo vi /etc/php/7.1/cli/php.ini -
In vi, type
/cgi.and press Enter. Set:cgi.fix_pathinfo=0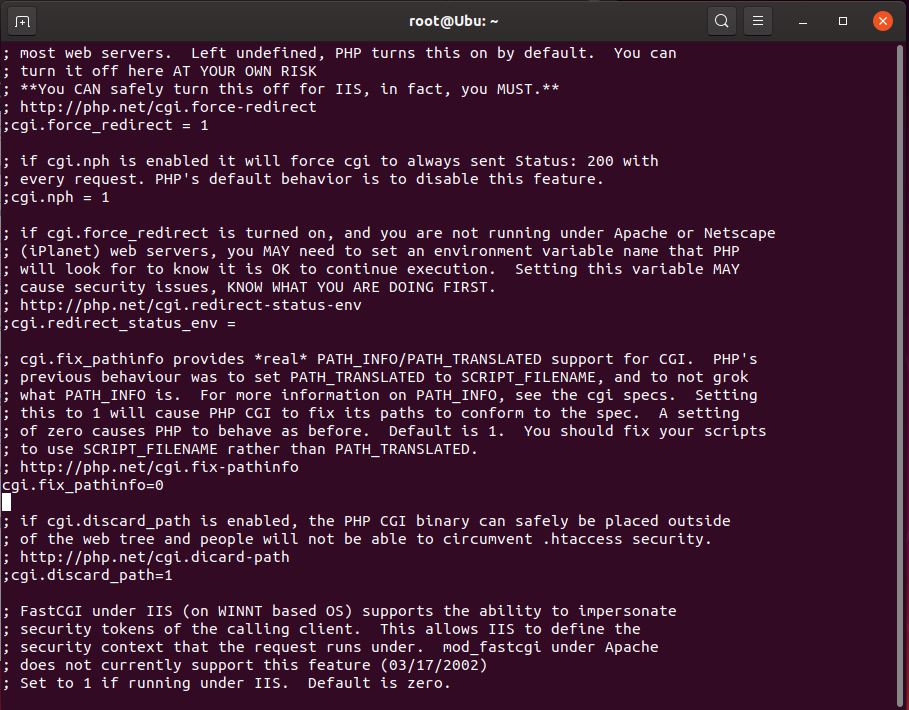
Disable PATH_INFO rewriting for CGI. -
Restart PHP-FPM.
sudo service php7.1-fpm restart -
Enable PHP in the NGINX site.
sudo vi /etc/nginx/sites-enabled/defaultUncomment the PHP location and point it at the 7.1 FPM socket:
index index.php index.html index.htm index.nginx-debian.html;

location ~ \.php$ {
    include snippets/fastcgi-php.conf;
    fastcgi_pass unix:/run/php/php7.1-fpm.sock;
}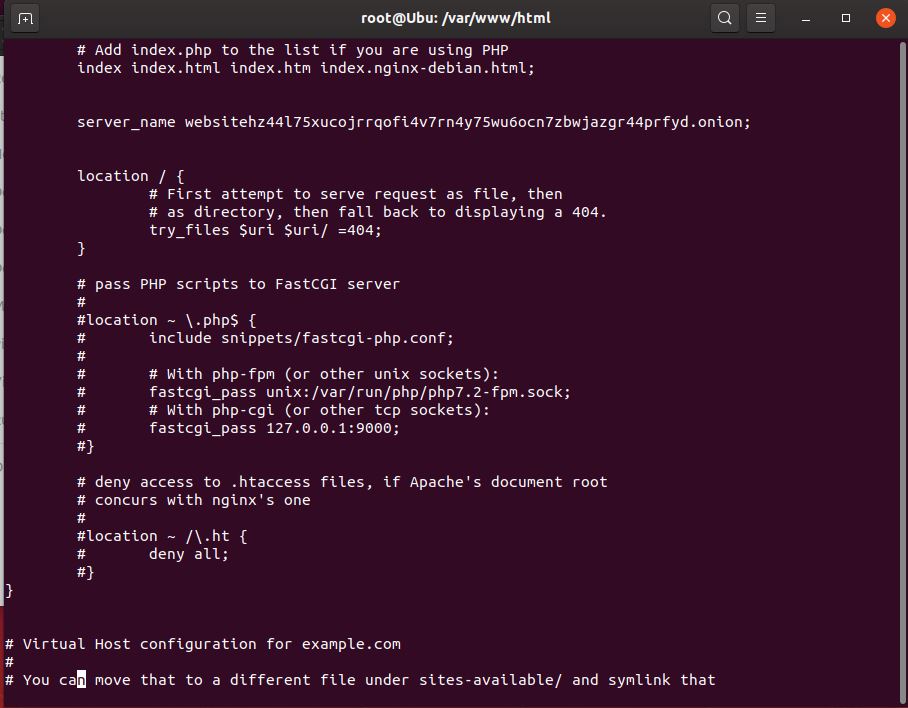
Remove the comments on the PHP location block, then match the socket to your PHP version. -
Restart NGINX.
sudo service nginx restart -
Start NGINX and PHP-FPM on boot.
sudo systemctl enable nginx.service
sudo systemctl enable php7.1-fpm.service